How Can We Help?
My Phones
Clicking the My phones tile on the My profile page opens a page called My phones, as pictured below.
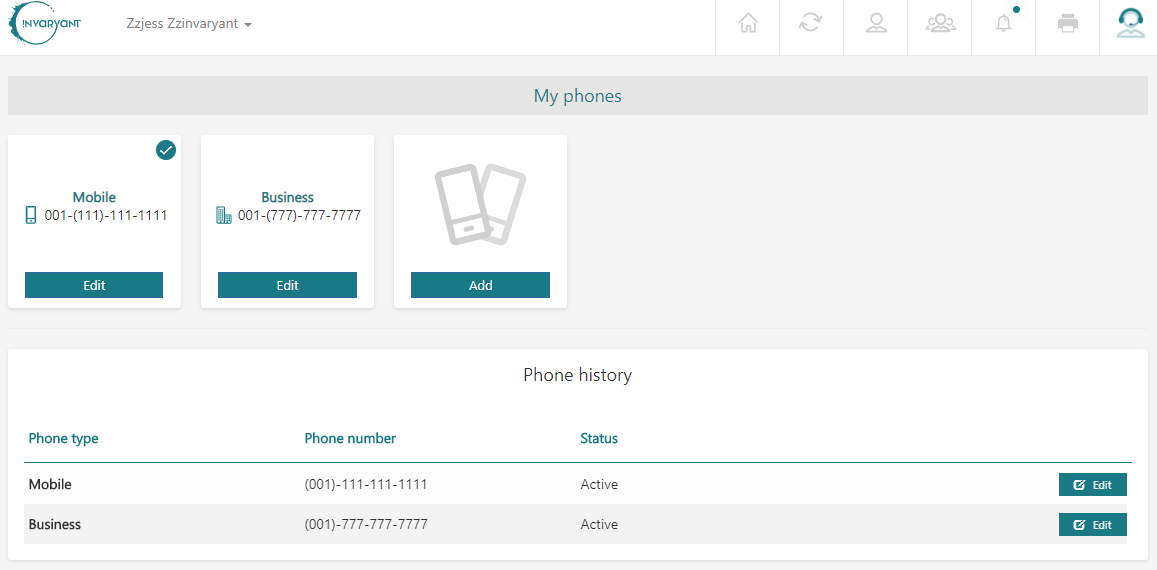
Figure 1 – “My phones” page
Clicking the Add tile on this page opens the page to add a new phone number, pictured below.
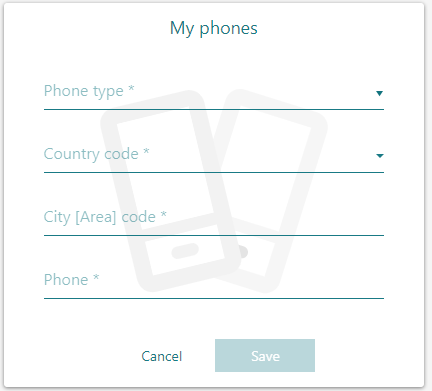
Figure 2 – Blank phone page
Once all of the required fields in Figure 2 above have been filled in, Save button can be clicked to return to the My phones page in Figure 1.
Note the circle with a check mark in the upper right-hand corner of one of the tiles in Figure 3 below. This indicates that the tile is the “default” tile that appears on the main My profile landing page. This default status may be given to another tile, as described below.

Figure 3 – Default-phone example
Clicking the Edit button for a tile opens its page, as shown below in Figure 4. Two more options appear if a tile is in edit mode after having already been created: Move to history and Make this my default phone.
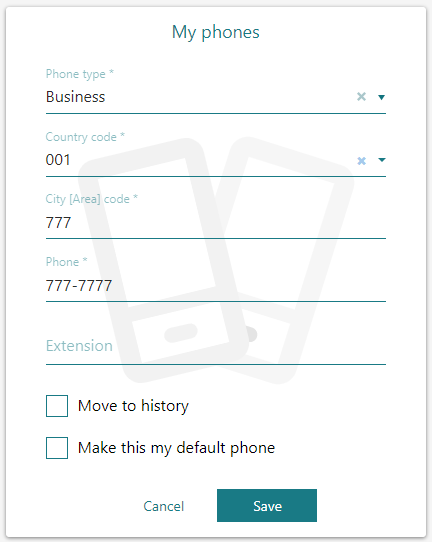
Figure 4 – Phone page in edit mode
If only one phone exists, it is automatically selected as the default. The Make this my default phone check box cannot be cleared. If you create another phone, you may select Make this my default phone for that phone to make it the default phone instead.
If you select Move to history in Figure 4 above and click Save, the tile will be deactivated, meaning it will exist only as an inactive, single-line entry under the Phone history panel, as shown in Figure 5. This action cannot be completed for a tile with the Make this my default phone check box selected.
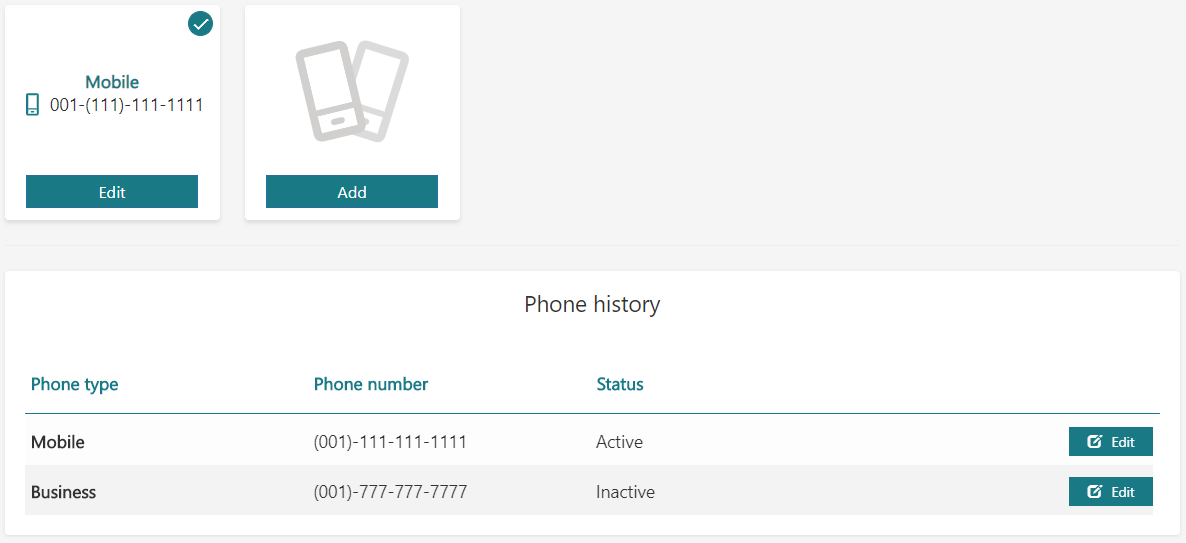
Figure 5 – Bottom phone has been deactivated
To restore a deactivated tile, click the Edit button to the right of the phone’s entry under the Phone history panel, which opens its page, shown in Figure 6 below. Within this page, select Restore and then click Save to reactivate the tile.
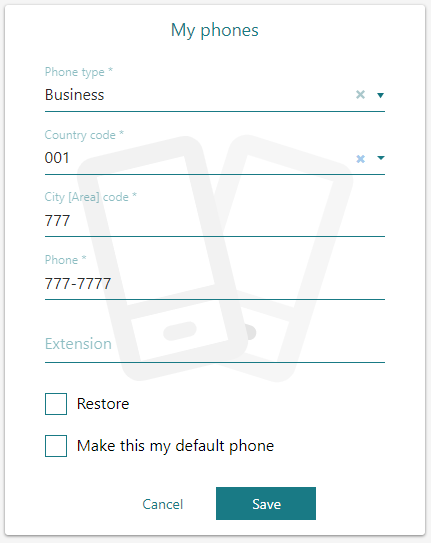
Figure 6 – Editing a deactivated phone
