How Can We Help?
My Benefits
Clicking the My benefits tile on the My profile page opens a page called My benefits, as pictured below.
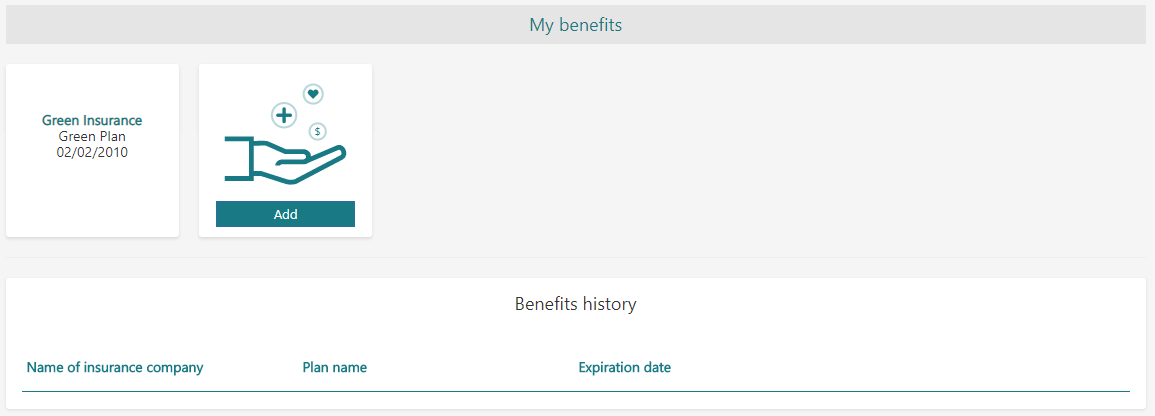
Figure 1 – “My benefits” page
Clicking the Add button on the My benefits page opens a blank page for adding a new benefit, as shown below in Figure 2. To save a new benefit, ensure that all required fields are filled in.
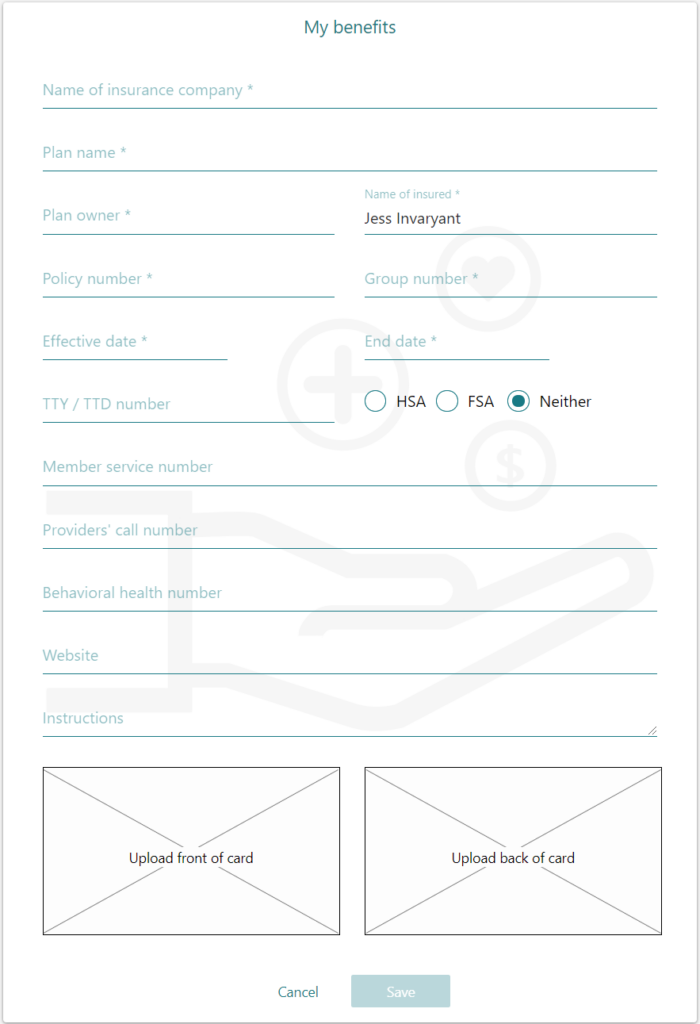
Figure 2 – Blank page for a new benefit
To edit a saved benefit, click the tile for a saved benefit on the My benefits page. When this is done, the following additional functionality appears (all of which are illustrated in Figure 3 below):
- Printing the benefit (via the print icon in the top right of the page)
- Emailing the benefit (via the email icon in the top right of the page)
- Moving the benefit to Benefits history by selecting Move to history at the bottom of the page and clicking Save
Figure 3 – Editing a benefit
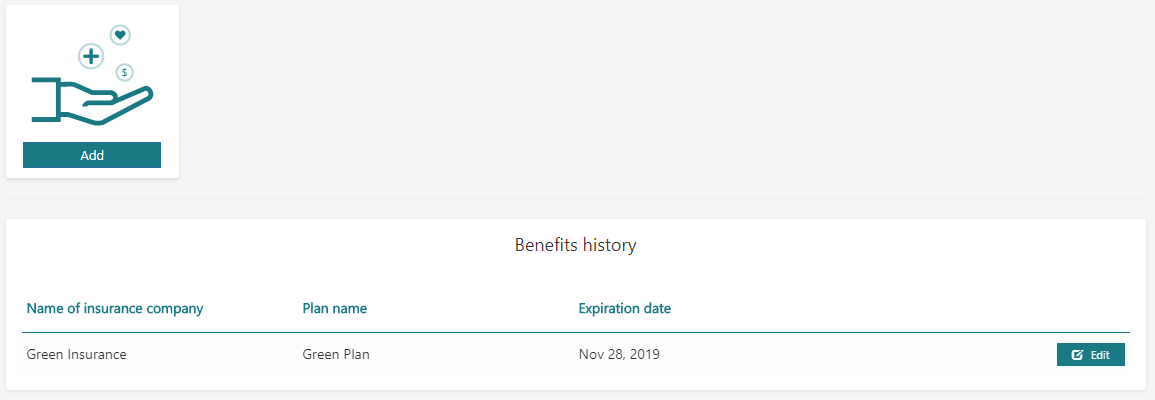
Figure 4 – Inactive benefit
To reactivate a benefit in the Benefits history panel, click Edit next to the benefit’s entry in Benefits history, select Restore, and click Save.
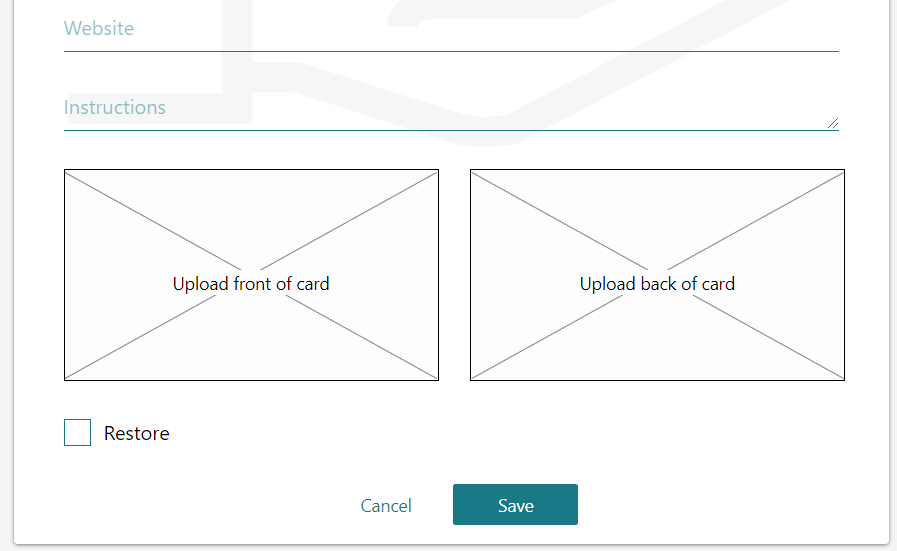
Figure 5 – Restoring a benefit in History